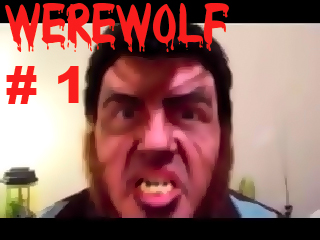
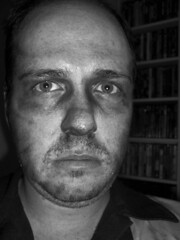
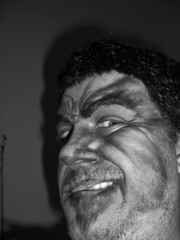
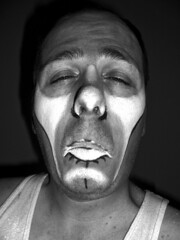
This is one of the first projects in Dick Smith's book, and is a notably simple one. All it requires is brown and black makeup, storebought novelty teeth, crepe hair, and spirit gum. Voila, you have a very traditional looking movie werewolf, albeit an old-fangled one, from back in the day when monsters were created mostly through gresepaint and not through latex attachments. It looks quite good, though:
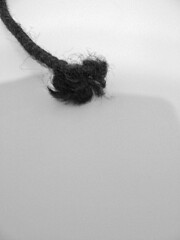
Firsyly, let's talk about crepe hair. It's an essential of makeup design, and is available from any reputably costume shop, and can also be easily ordered over the internet. It's a woolen fiber woven into neat little braids, and it quite inexpensive. You're not going to be able to do this one without the crepe hair, so run out and get some.
Got it? Well, let's get started.
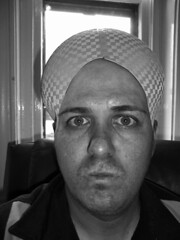
STEP ONE: Apply brown greasepaint
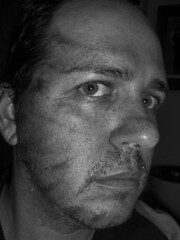
Simply smudge it around the side of your face with your thumb or finger so that it looks like tiger stripes, or, perhaps, whispy werewolf hair. Once you have done this to the entire perimeter of your face, use the brown greasepaint to darken the area around your eyes and to darken the tip of your nose.
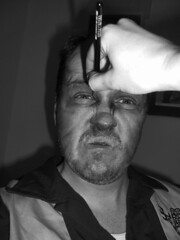
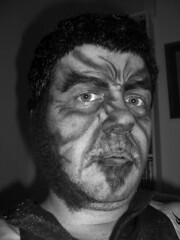
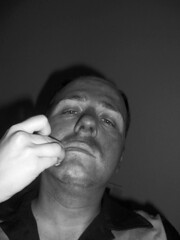
STEP TWO: Make a scary face and then fill in the wrinkles
Just make a face like you are very angry, then use the brown greasepaint and a brush to paint all those little lines.
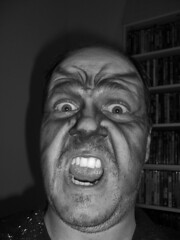
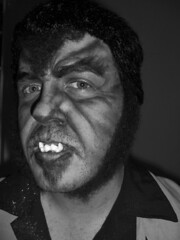
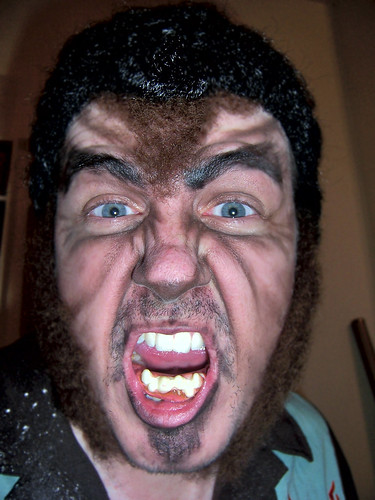
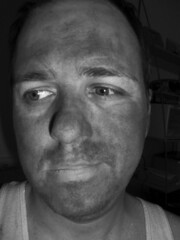
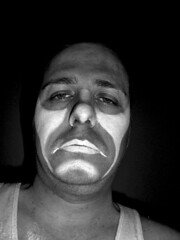
STEP THREE: Add detail using black makeup
Use either black greasepaint or a black eyeliner. Darken and extend the eyebrows into a scruffy, devilish arch, and color a black triangle under the chin.
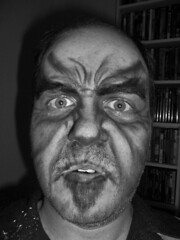
STEP FOUR: Add the crepe hair
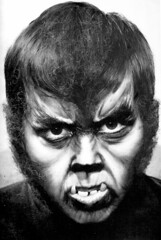
Just take some of it off the braid, fluff it out, and use spirit gum to glue it to the sides of the face as though they were oversized, shaggy porkchop sideburns. Also, add a triangle of spirit gum to the forehead extending from the hairline (or, in Max's case, the wig line) down to the tip of the nose like some huge widow's peak. Add some novelty teeth (max's were held in place with gum, and were made of sugar!) and you've got a werewolf!
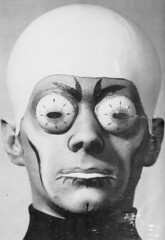
Dick smith's Martian make-up has a lot of little steps to it, but it's a pleasantly simple bit of makeup design, consisting of just three elements: A small rubber or ping pong ball for the eyes, a large rubber ball for the head, and some makeup for the face. But with these simple elements, Smith has designed a rather classic-looking space alien:
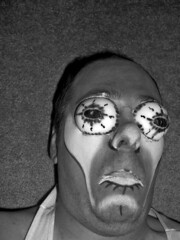
Let's start out by making the eyes, which are made in exactly the way the eyes were made for The Weird-Oh:
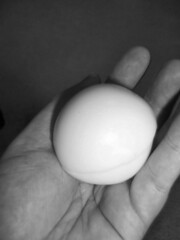
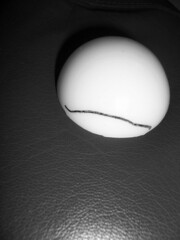
STEP ONE: Cut a rubber ball or ping pong ball in half
Dicks Smith actually suggests using plasic egg trays, like the sort you would take on a camping trip, but the one's Max and Courtney have found have not been suitable, so they have instead used a white rubber ball from a surplus store. Simply cut it in half.
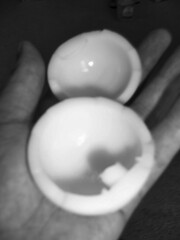
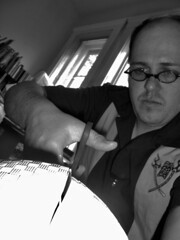
STEP TWO: Shape the bisected ball
As it is, the ball halves won't fit your face very well. You will need to cut the sides off somewhat to fit the shape of your face. Trim the sides a little, then put them against your face, and then trim them some more until they are a good fit.
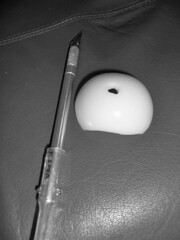
STEP THREE: Cut a small eye hole
Just use an Exacto Blade to cut a small hole in the center of each rubber ball half. Place them over your face to make sure that you are able to see through them. Be warned, thoug: Your vision will be severely constrained wearing these.
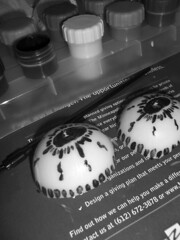
STEP FOUR: Paint the eyes
Max used ordinary tempra poster paints bought for a few dollars. Paint the whole thing white, and then use black to paint the pupils and the lightining bolt-shapes running along the sides of the eyes, while using red to paint the sunburst pattern around the pupil and the lines around the perimeter of the false eye. Spray with spray sealant or simply cover with Mod Podge to make sure the paints stay fast.
Now that we have made the eyes, let's let them dry while we create the giant martian head. This is an even simple process.
STEP FIVE: Cut a slit in a rubber ball
The ball should be a little larger than your head. Cut a slit large enough to stick your head into the ball.
STEP SIX: Trim the ball to fit your head
Just place the thing on your head and trim it down until you like it's size and shape. Make sure you cut out little slots for your ears!
STEP SEVEN: Apply makeup
Max and Courtney pretty much went with Dick Smith's original design, starting with a base coat of green greasepaint and then adding white greasepaint highlights. Use powder to set.
Finally, we used some black greasepaint for some of the details.
STEP EIGHT: Affix the eyes
You just glue them into place using spirit gum or liquid latex, then use your black greasepaint to paint circles around the eyes and arched eyebrows.
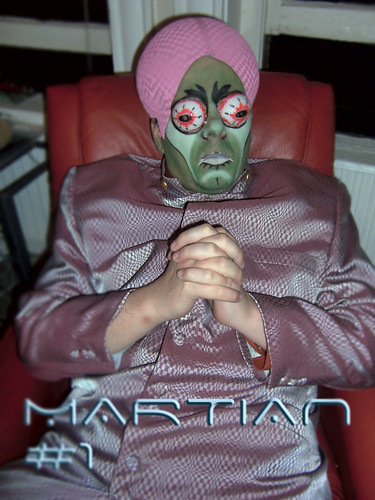
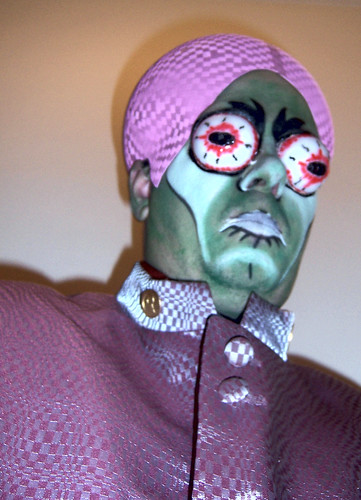
Now, with the alien head placed over Max's, and with the addition of a pink, Op art-patterned Nehru jacket, here is our completed Martian #1:
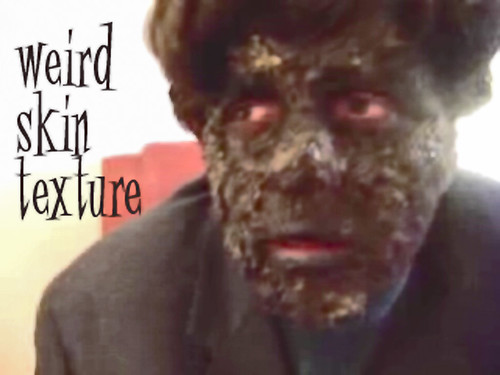
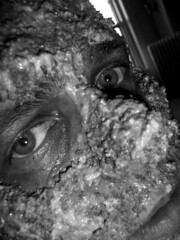
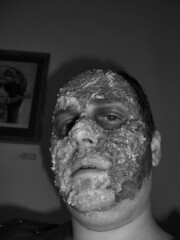
It's always fun to see what Dick Smith chooses for ingredients for his make-up in Dick Smith's Do-It-Yourself Make-Up. For example, in a chapter titled "Weird Skin Textures," he suggests combining liquid latex, which is the sort of thing that would mostly interest make-up artists, with bread crumbs, which is the sort of thing that would mostly interest pigeons malingering in a public park. But with these two items Dick smith comes up with this:
So he must be on to something.
The process for making this is surprisingly simple. Basically, most of the work is done in two steps, as follows:
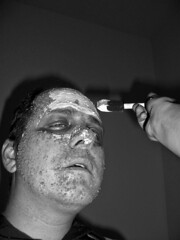
STEP ONE: Paint liquid latex on your face and stick bread crumbs to it
It's a good idea to have a plate or a pie tin below you to catch spare crumbs that will fall off your face.
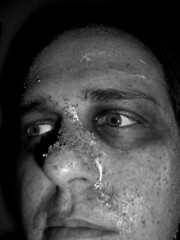
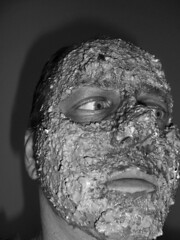
STEP TWO: Add more latex and breadcrumbs
At this point, you can really build up the facial features with the latex and bread crumbs. Be careful around the eyebrows and hairline, as liquid latex can tug quite a bit when it comes off. Let each layer dry before you add a new one. If you don't want a texture that is quite so thick, Dick Smith suggests using cracker meal.
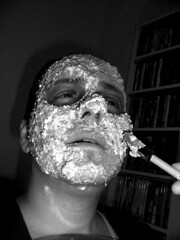
Liquid latex tends to dry pretty clear, which, combined with the bread crumbs, can produce a notably disgusting color. An alternative is to color the liquid latex with acrylic paint. Max and Courtney decided to color their latex grey, which made the resulting weird skin texture a somewhat uniform, and dark, color.
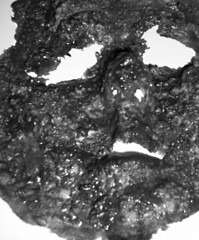
STEP THREE: Apply makeup to the face
Courtney and Max followed Dick Smith's advice and gave the face a brown base with yellow highlight. They also rimmed Max's eyes in red to give them a sickly, infected quality.
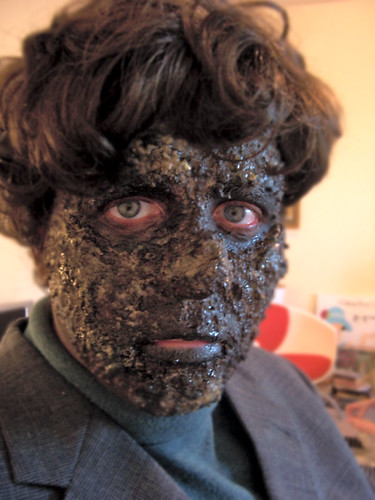
The best part of creating this weird skin texture out of liquid latex is that the entire thing can be removed and reused as a mask!
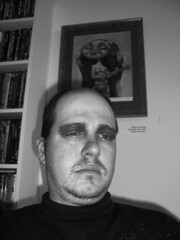
Add a wig and a turtleneck and here's what the completed weird skin texture looks like:
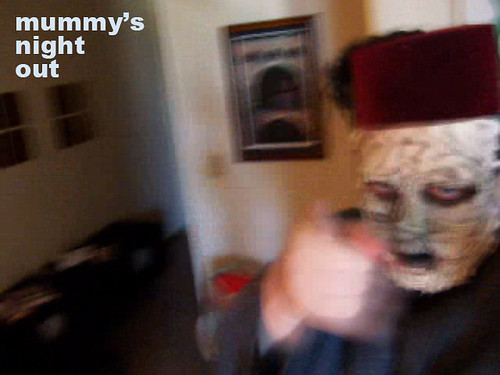
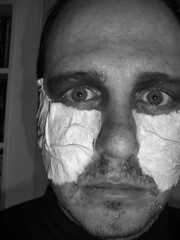
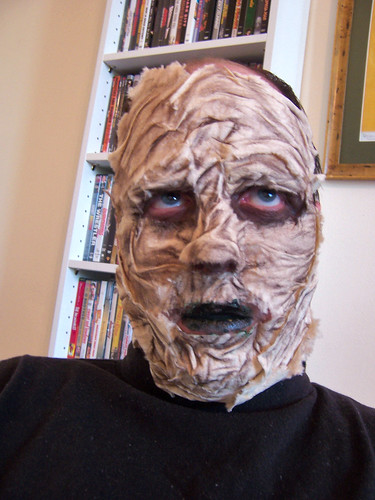
Dick Smith offers a very simple method for creating a mummy like the one Boris Karloff played in 1932. The best thing is Smith's list of supplies, which, with the exception of brown greasepaint, reads like a shopping list. Here's what he suggests: Karo syruo, flour, cracker meal, instant coffee, and a roll of "good quality, plain, white paper towels." Sounds like the fixings for making a pie crust, but instead, Dick Smith makes this:
STEP ONE: Prepare the paper towels
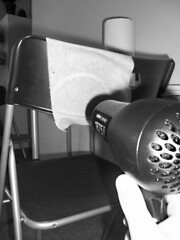
Just boil some water, add the instant coffee, let it cool, and then dip the paper towels into the brown liquid that results. Dip each piece of paper towel about three times -- you want to give it a nice light brown color. Don't worry about the paper towels getting wrinkled -- you want them wrinkled. Smith also suggests using a thin paper that is used for covering model airplanes , which apparently will make finer wrinkles. Now either just let the paper towels dry or blow dry them. Since paper towels are now designed to be super absorbant, we decided to blow dry them, which took about ten minutes per towels. Four towels proves to be enough to cover Max's entire face and neck.
STEP TWO: Eye makeyp
Use the brown greasepaint to color the eyelids and the area around the eyes a dark brown. Be careful not to get any greasepain in your eyes, as it stings!
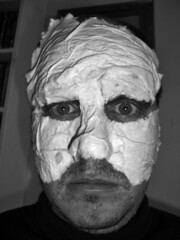
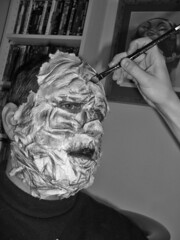
STEP THREE: Apply the paper towel in segments
The key here it to tear the towl to fit various area of your face. Two segments, for example, should cover the area just below the eye and the cheek. Two segments should cover the eyebrows. A long strip of paper towel should cover the forehead, and another long strip will go across beneath the nose like a mummy mustache. A square segment of paper towel will cover the chin, a triangle shaped segment will cover the nose, etc.
The point of making these strips is to allow some natural motion on the face. Cover the entire face.
There are several ways to glue the paper towels to the face. Dick Smith's method is to mix Karo syrup with flour -- one tablespoon of flor, one teaspoon of Karo. You can also add brown greasepaint to this mixture togive it some color. This will act as a simple makeshift glue, and is very inexpensive. But despite the fact that Karo Syrup is incredibly popular among special effects makeup artists (often used for blood), it is very sticky and never really seems to dry, so Max and Courtney attached their paper towels with spirit gum, which Smith suggest as an alternative. As you glue the towerls to the face, let it get really wrinkly!
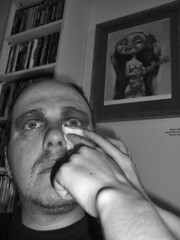
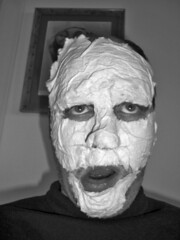
STEP FOUR: Dye the mouth and tongue blueish black
Smith recommends using food coloring. Mix green, blue, and red together to make a blackish color, and then apply to your tongue and lips. It will stain them a blue black color for a while.
STEP FIVE: Color the wrinkles
Do this using brown greasepaint. Color under the wrinkles to make them seem more recessed. If you have time, you can also use yellow gresepaint to color the tops of the wrinkles to highlight them.
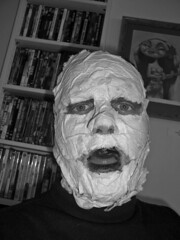
STEP SIX: Finishing touches
Now you can add some finishing touches. Any exposed skin should be painted brown. If your ears stick out, you can glue them back using some surgical adhesive or a dash of liquid latex. Soap your hair back, if you have any. Now Smith suggests creating a granular paste with a tablespoon of cracker meal, a dash of instant coffee, a tablespoon of Karo syrup and a tablespoon of flour. Now use this paste to mat your hair back. You might also use a bald cap and wrap it in paper towels. We decided to be very simply and just put a fez on the top of Max's head.
Mummy's are dusty, so Smith suggests getting some powdered clay (we bought brown grout). If you want to makeup to stay, spray it with some sealent (avalable at any makeup store) and then toss some of the powdered clay or grout onto the mummy; it will look like speckles of dirt.